|
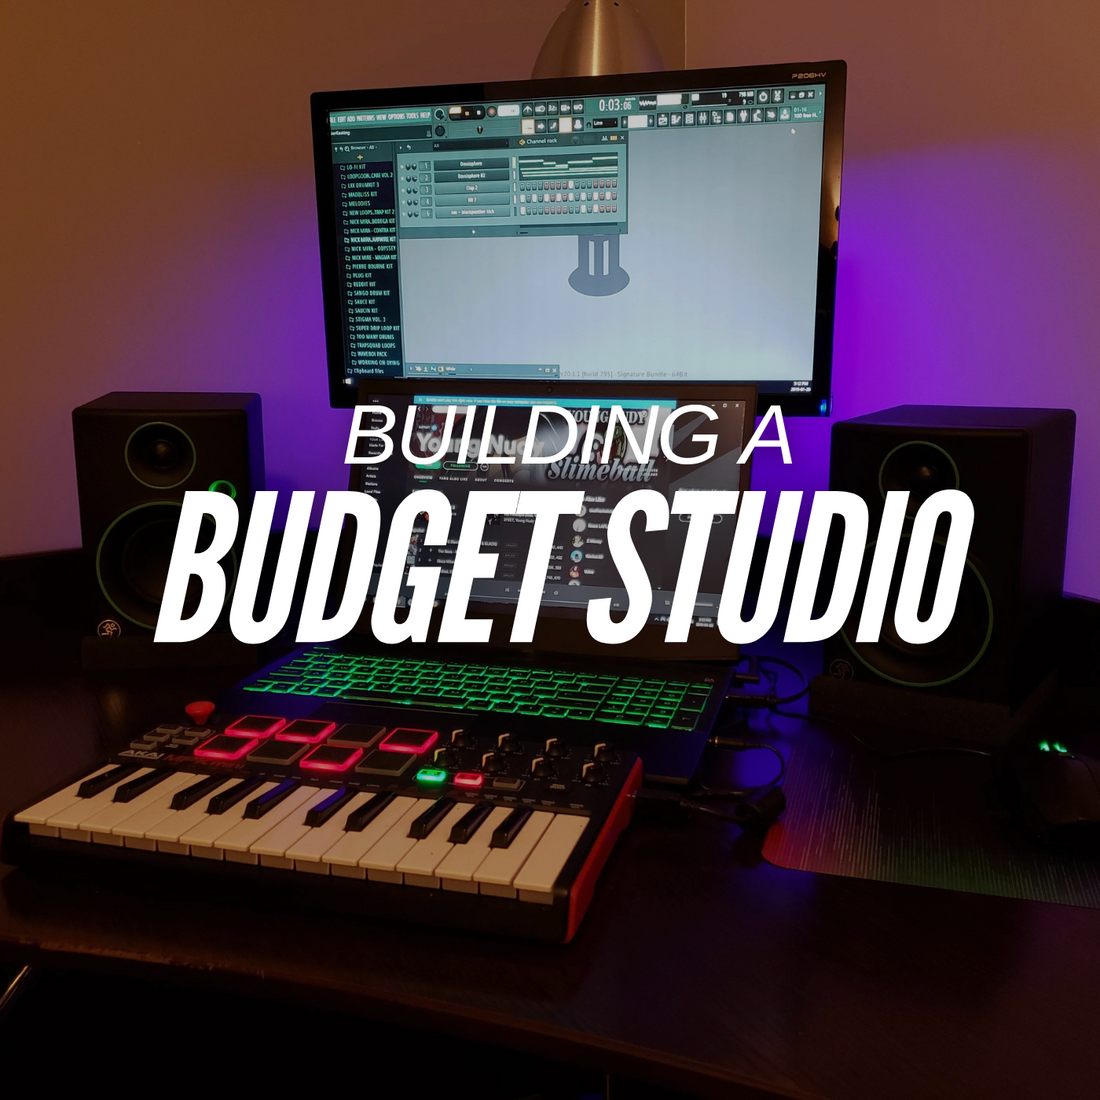
HOW TO BUILD A RECORDING STUDIO ON A BUDGET? Creating a recording studio can seem like a daunting task, especially when you think about the costs involved. However, with a little creativity and resourcefulness, you can set up a functional and effective recording space without breaking the bank. Here’s a friendly guide to help you build your own recording studio for under $1000. First things first, let’s talk about the essentials. You’ll need a computer, a digital audio workstation (DAW), an audio interface, microphones, and some basic studio monitors. Fortunately, you don’t need the latest and greatest gear to get started. Many budget-friendly options are available that still deliver quality results. 1. **Computer**: If you already have a computer, you’re off to a great start! Most modern computers can handle music production tasks. If you need to purchase one, consider a refurbished model to save money. 2. **Digital Audio Workstation (DAW)**: There are several affordable DAWs available, such as Reaper or GarageBand (if you’re on a Mac). These programs allow you to record, edit, and mix your music. Many offer free trials, so you can test them out before committing. 3. **Audio Interface**: An audio interface is crucial for connecting your microphones and instruments to your computer. Look for budget-friendly options like the Focusrite Scarlett Solo or PreSonus AudioBox, which typically cost around $100. 4. **Microphones**: A good microphone can make a significant difference in your recordings. Consider starting with a versatile condenser microphone, such as the Audio-Technica AT2020, which is often available for under $100. If you plan to record instruments, a dynamic microphone like the Shure SM57 is also a great choice. 5. **Studio Monitors**: While headphones are essential, having a pair of studio monitors will help you hear your mixes more accurately. Look for entry-level monitors like the KRK Rokit 5 or JBL 305P MkII, which can often be found for around $300 per pair. 6. **Acoustic Treatment**: To improve the sound quality in your studio, consider adding some acoustic treatment. You can make DIY sound panels using rock wool or foam, which can be quite affordable. Placing these strategically around your room will help reduce echo and improve your recordings. 7. **Cables and Accessories**: Don’t forget about the necessary cables and accessories! Invest in a few XLR cables for your microphones and some stands. These can usually be found for a reasonable price at your local music store or online. With careful planning and smart purchasing, you can build a recording studio that meets your needs without exceeding your budget. Remember, the most important part of music production is your creativity and passion. So, get started, and enjoy the process of making music!
|